תיאור
NanoEye
Every Nanometer Counts.
A New Dimension in Measuring Range and Accuracy
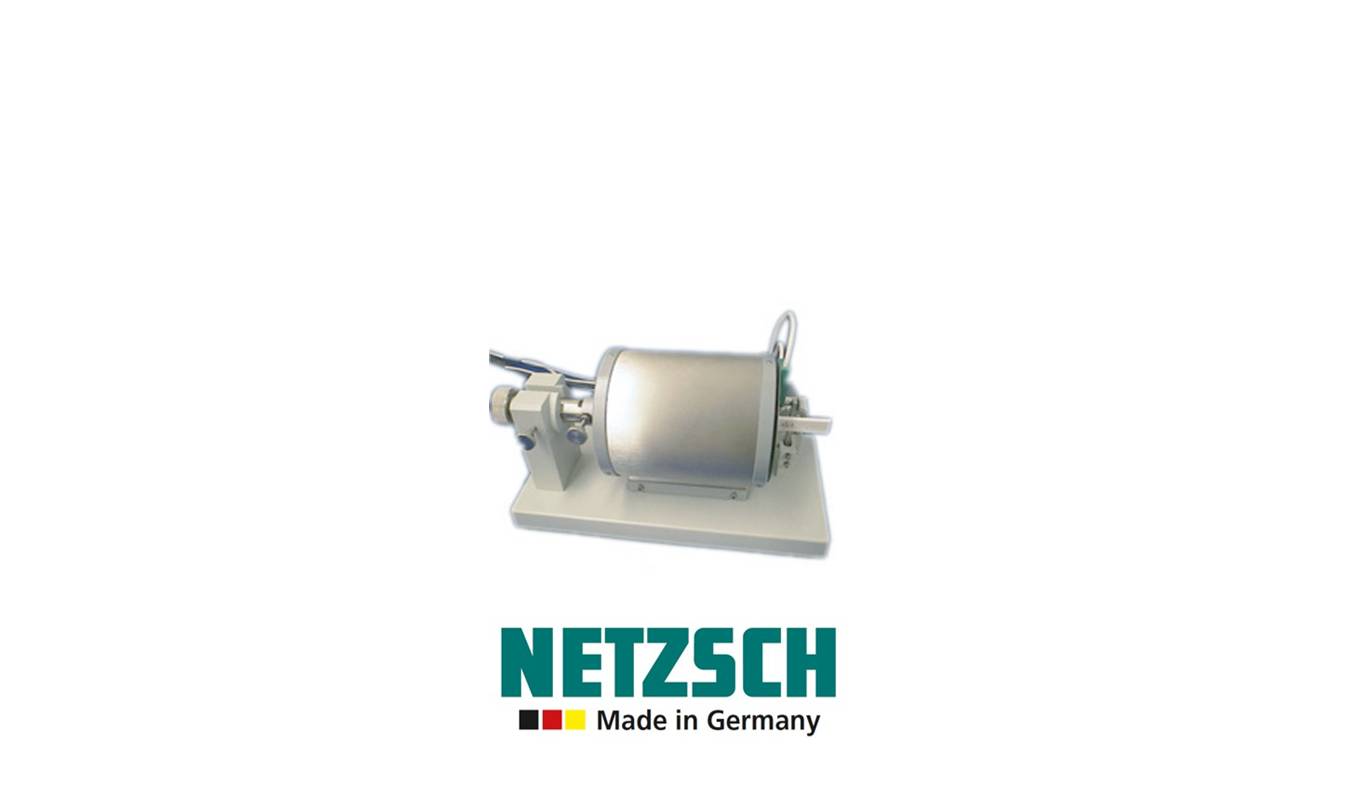
In classical dilatometry, the two parameters measurement range and resolutionmostly seem diametrically opposed. If the resolution goes up, the measuring range usually goes down and vice versa. NanoEye, the novel opto-electrical displacement system, features perfect linearity and maximum resolution over a measuring range which was impossible to realize until now
Functional Principle
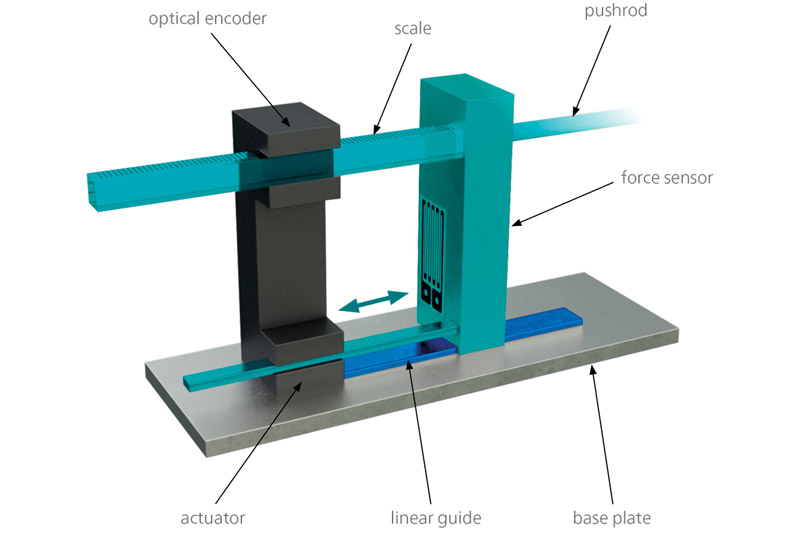
During a test run, if the sampleexpands, all green components in the graphics move backwards with the help of a linear guide (marked in blue). The optical encoder determines the corresponding length change directly on the appropriate scale.
All-In-One Design & Long Life Cycle
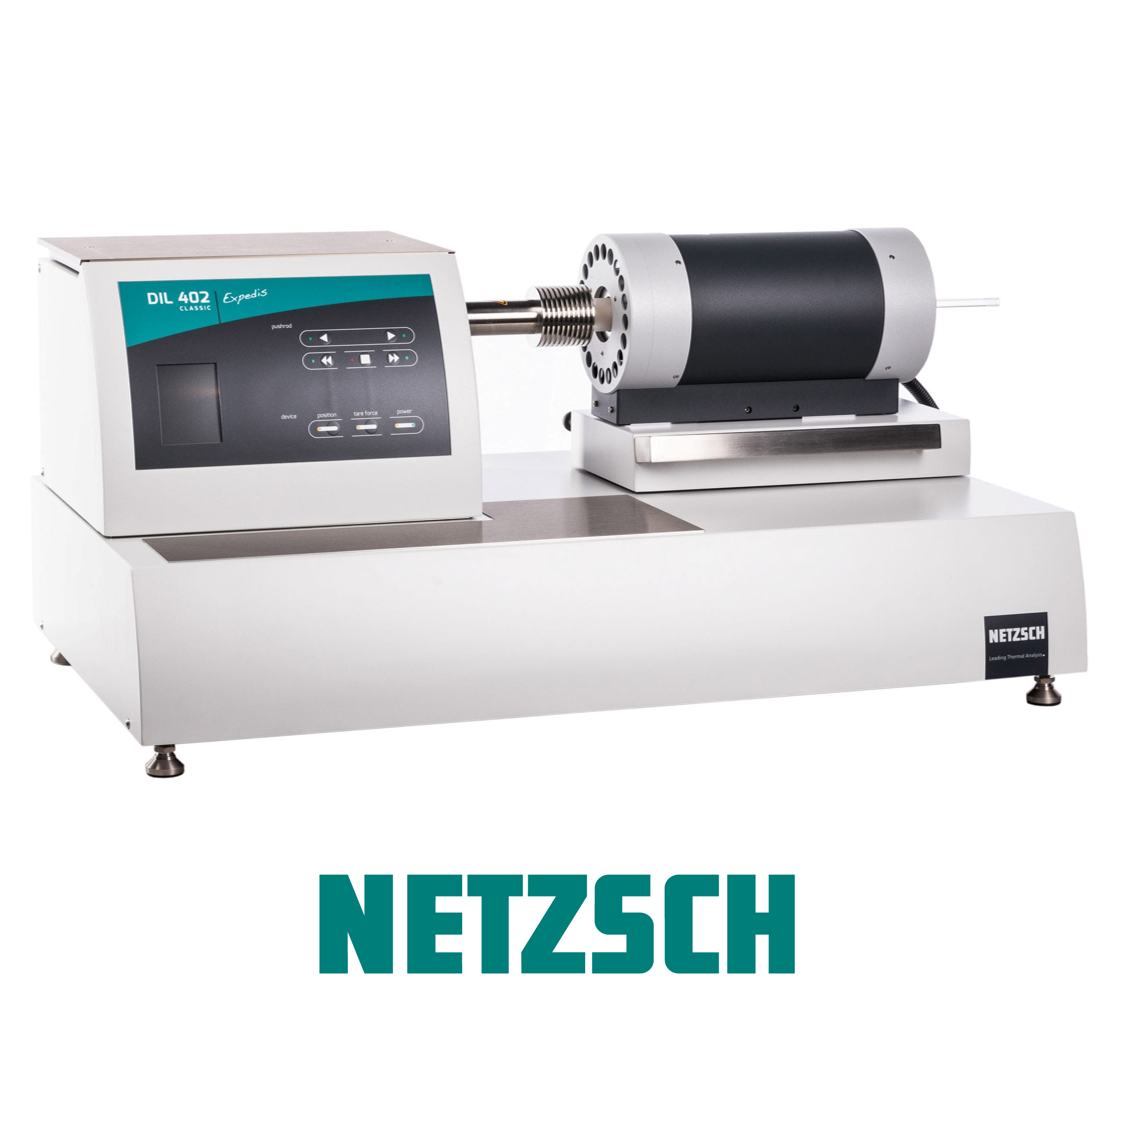
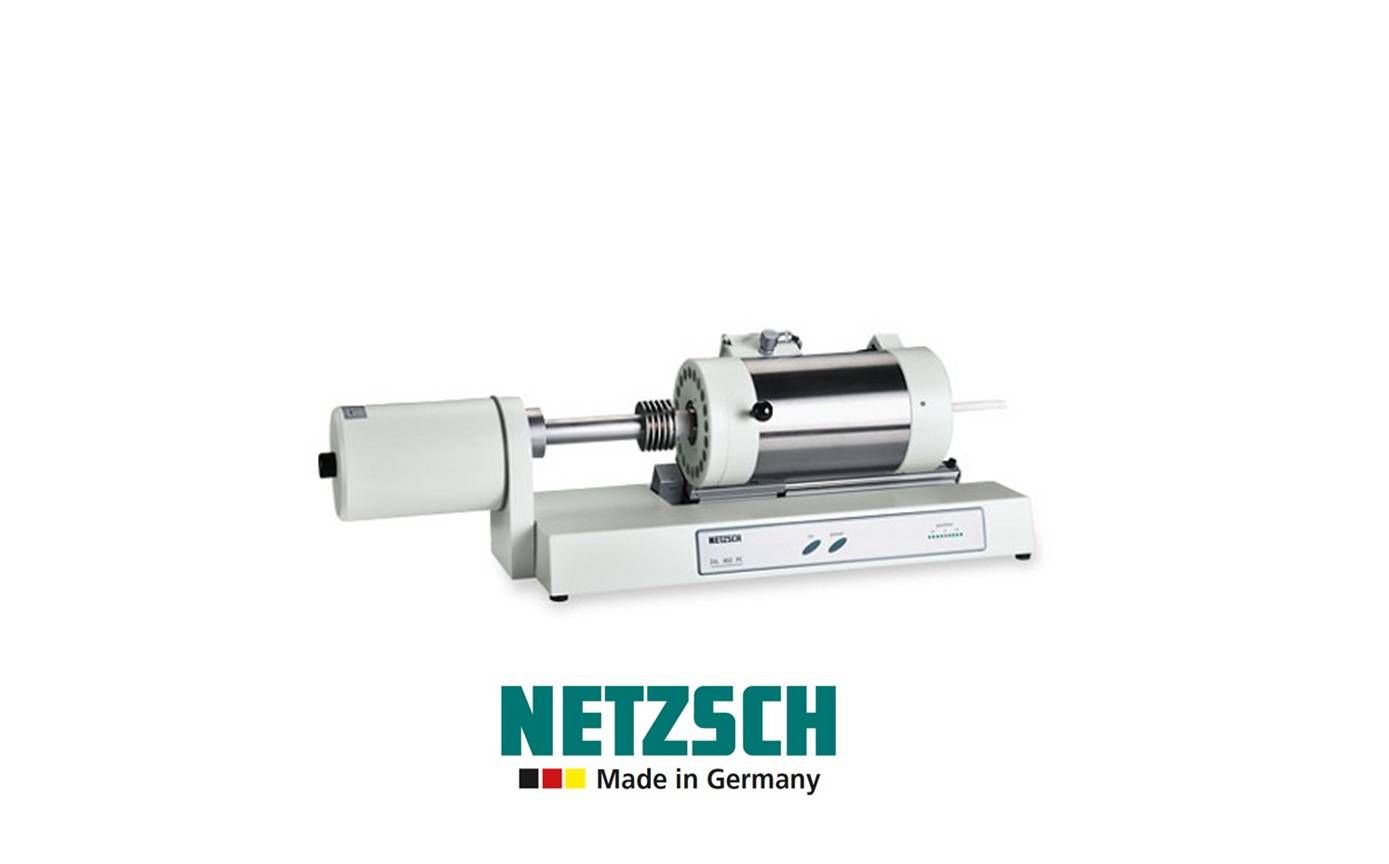
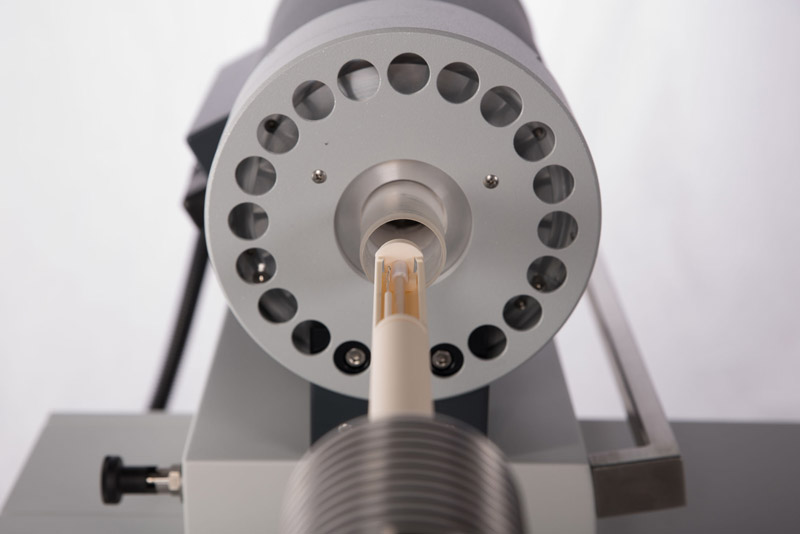
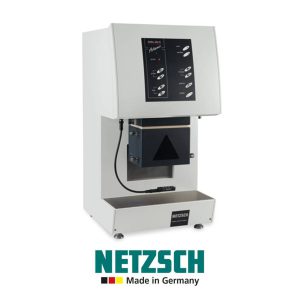
The DIL Expedis Classic is available as a single or dual/differential system. In both versions, the all-in-one design incorporates all hardware components which are usually necessary for precise dilatometer measurements. There is no inconvenient cable tangle nor is an external chiller required.
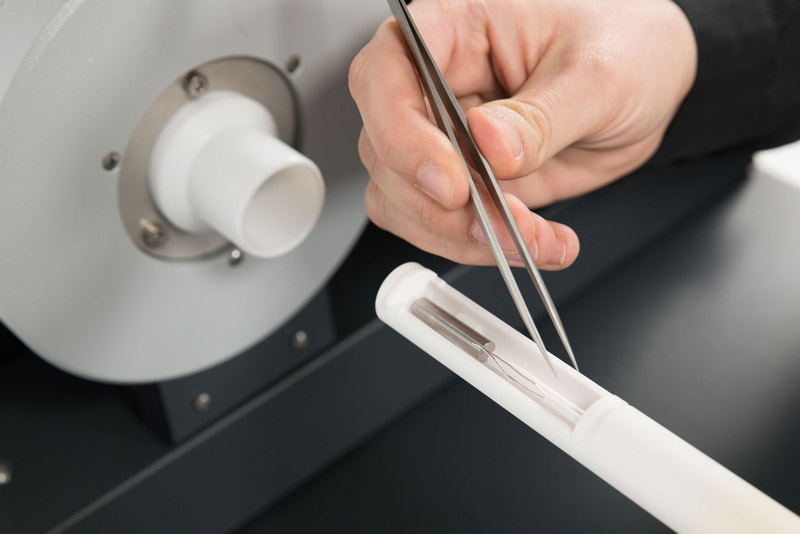
Expedis Classic supports your smooth production flow by maintenance-free operation, low work load, long life cycle, simplified and safe operation. The system’s sophisticated design also includes effortless exchanging of the sample holder system with no risk of distortion.
Ease of Use
Major simplification begins with preparation of the measurement by using method-based test routines predefined by the operator.
The MultiTouch feature places the sample into the optimum position using a unique, tail-like motion. The initial sample length is then automatically deter-mined at a predefined contact force. The furnace closing is made smooth by cushioning which guarantees stable sample positioning.
Exchanging the furnace is simple and requires no detailed experience. Only a few clicks are needed to start the measurement
Controlled Contact Force
The controlled contact force allows the operator to measure small, delicate, fragile or foamed samples without risk of breakage and any non-reproducible deformation and to keep the contact pressure over the entire measurement time constant.
Also, this feature allows a highly repro-ducible sample length measurement independent of the respective operator. Sliding and rolling friction, stick-slip effects, etc. in the measurement system will now also be avoided.
- Heating rates
- 0.001 … 50 K/min
- Sample holder system
Single and dual/differential system - Displacement system
NanoEye - Temperature accuracy
1 K - Temperature precision
0.1 K - Repeatability of m. CTE
10-8 1/K - Measuring range
± 5000 μm - Resolution
2 nm (over the entire measuring range) - Gas control
1-way, optional 3-way switch


